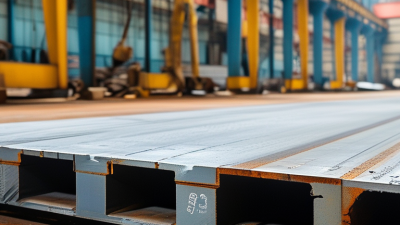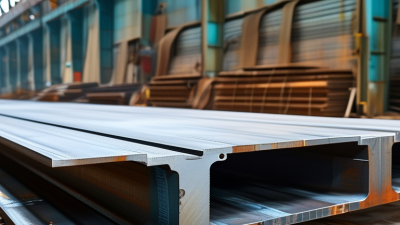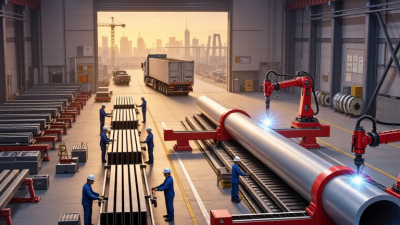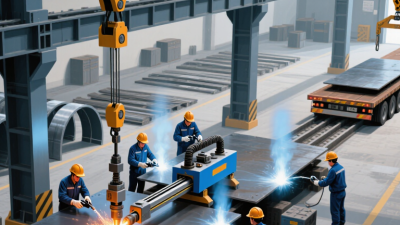


Buying steel girders across borders requires more than comparing price per ton. It demands clear specifications, verified production capacity, and disciplined quality control. In real projects, a small error in camber, flange width, or bolt-hole alignment can delay installation and increase site costs. Reliable steel girder fabrication begins with drawings that define loads, dimensions, steel grades, weld details, tolerances, and surface protection requirements. Global buyers should also confirm how the supplier manages material certificates, welding procedures, inspections, and traceability from mill plate to finished girder.
Details matter greatly. A professional fabricator should explain its equipment, inspection process, and experience with similar bridge, building, or industrial structures. Buyers need practical evidence, such as inspection reports, weld records, coating measurements, and photographs from production stages. Factory audits can reveal whether workers use calibrated tools and whether storage areas protect steel from moisture and contamination. Shipping plans deserve equal attention. Oversized girders require secure lifting points, suitable packing, accurate weight data, and realistic delivery schedules.
No checklist is perfect. Unexpected design changes, port delays, or coating damage may still occur. This guide offers seven practical tips to reduce those risks and support better supplier decisions. It also encourages buyers to question unclear claims instead of accepting attractive quotations too quickly. A lower price may hide incomplete testing, weak documentation, or costly corrections later. By examining technical capability, communication, quality evidence, and after-sales support together, international purchasers can build a more dependable sourcing process. That discipline protects budgets, schedules, and structural performance. It also creates room for honest review when a supplier or specification needs improvement.
Define Project Requirements and Steel Girder Specifications
Global buyers should define the bridge’s purpose before requesting fabrication prices. Record span lengths, lane widths, design life, traffic loads, wind exposure, seismic conditions, and erection limits. Include transport dimensions and maximum lifting weight. These details prevent a low quotation from becoming an expensive redesign.
The World Steel Association reported approximately 1.89 billion tonnes of crude steel production in 2023. This scale supports broad material availability, but availability does not guarantee suitable structural quality. Specify the governing design standard, such as AASHTO LRFD or Eurocode 3. State the steel grade, minimum yield strength, plate thickness, weld category, fatigue requirements, corrosion allowance, and inspection level. Require mill certificates, weld procedure records, dimensional reports, and traceability from plate to finished girder. Small omissions matter.
Tip: Create a one-page requirement matrix before contacting fabricators. Include design loads, tolerances, coating system, delivery location, and acceptance tests. In practice, teams often overlook temporary bracing during erection. That oversight can alter girder stability, lifting points, and splice design. A neat spreadsheet is not enough. Review the assumptions with a qualified structural engineer, then test the specification against actual site access and local weather. Imperfect early information is normal, but leaving it unchallenged creates risk.
| No. | Fabrication Tip | Project Requirement to Define | Relevant Specification or Data | Buyer Verification Checklist |
|---|---|---|---|---|
| 1 | Define the design basis and loading | Identify the governing design code, span arrangement, support conditions, permanent loads, live loads, wind, seismic, fatigue, temperature, and construction-stage loads. | State load combinations and limit states, including strength, serviceability, stability, vibration, and fatigue where applicable. Design values must be confirmed by the project engineer. | Request signed design criteria, calculation assumptions, load combinations, reaction forces, camber requirements, and the governing national or international design standard. |
| 2 | Select the steel grade and material standard | Specify yield strength, tensile strength, impact toughness, thickness category, weldability, and low-temperature performance. | Common examples include S275 and S355 under EN 10025-2, with nominal minimum yield strengths of 275 MPa and 355 MPa respectively for products up to 16 mm thick. ASTM A572 Grade 50 specifies a minimum yield strength of 345 MPa. Values vary with product form and thickness. | Check material certificates, heat numbers, thickness-dependent mechanical properties, Charpy impact requirements, chemical composition, and an approved equivalent-grade comparison. |
| 3 | Freeze girder geometry and connection details | Define overall length, depth, flange and web thickness, stiffener spacing, splice locations, bearing details, holes, weld access, lifting points, and transport limits. | Provide approved general-arrangement drawings, shop drawings, connection design, bolt grades, hole dimensions, weld symbols, edge distances, and required fabrication tolerances. | Review a coordinated 3D model or drawing package. Confirm that girder dimensions, access for welding, site assembly sequence, shipping dimensions, and lifting weight are compatible. |
| 4 | Control welding and weldability | Define joint categories, weld sizes, welding processes, consumables, preheat, interpass temperature, distortion control, and repair procedures. | Use an approved Welding Procedure Specification and qualified welders. AWS D1.1 and ISO 15614-1 are widely used qualification references; ISO 5817 provides weld-quality levels such as B, C, and D. | Request WPS and PQR or WPQR records, welder qualifications, consumable certificates, preheat logs, visual inspection records, and weld-repair limits. |
| 5 | Plan inspection and non-destructive testing | Set inspection points for incoming material, fit-up, welding, dimensional checks, coating, final assembly, and shipment release. | Typical NDT methods include visual testing, magnetic particle testing, penetrant testing, ultrasonic testing, and radiographic testing. The method and sampling percentage must be project-specific. | Approve an Inspection and Test Plan with hold points, witness points, acceptance criteria, inspector qualifications, traceability rules, and a nonconformance-reporting process. |
| 6 | Specify corrosion protection and service environment | Define atmospheric corrosivity, exposure category, design service life, surface preparation, coating system, dry-film thickness, repair areas, and any fire-protection requirement. | ISO 12944 classifies atmospheric corrosivity from C1 to CX. Coating selection should be based on exposure, required durability, substrate preparation, and the complete coating-system data sheet. | Verify surface-cleanliness grade, profile measurement, ambient conditions, wet and dry film thickness, curing intervals, holiday testing where required, and coating repair records. |
| 7 | Coordinate tolerances, documentation, and delivery | Define dimensional tolerances, straightness, camber, hole alignment, marking, packing, corrosion protection during shipment, customs documents, and installation sequence. | EN 1090-2 and ASTM A6 include fabrication and dimensional provisions, but the contract should identify the applicable tolerance class and any stricter project limits. | Require final dimensional reports, material certificates, weld and NDT records, coating reports, as-built drawings, packing lists, lifting instructions, inspection release, and agreed delivery terms. |
Note: Example material values and standards are for specification planning only. Final requirements must be confirmed by the project engineer, applicable local regulations, and the approved contract documents.